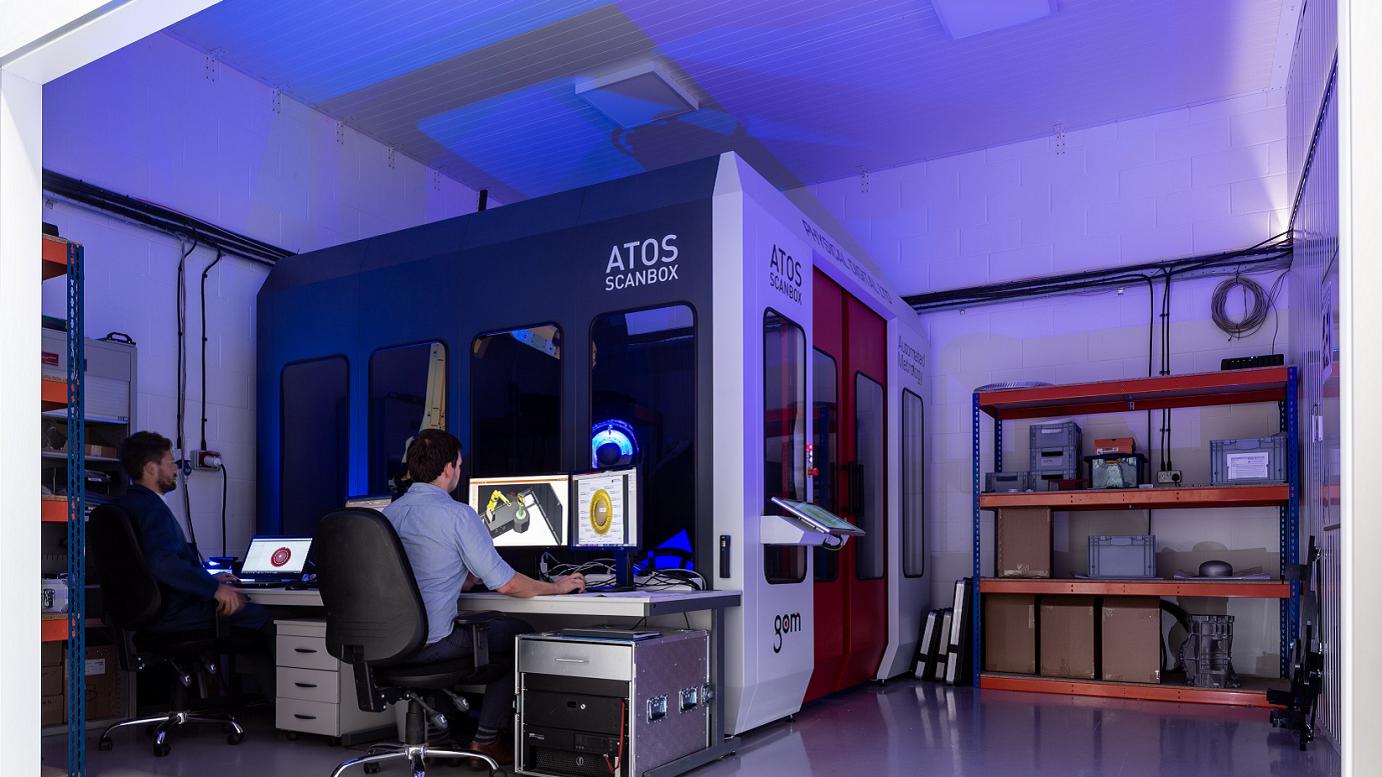
Due to company expansion, Physical Digital relocated to a larger premise in 2017 and since moving have installed an environmentally-controlled measurement cell, which houses our automated GOM ATOS ScanBox, providing the UK’s highest resolution metrology system.
Why is environmental control important?
The answer is accuracy. As a leading metrology company, maintaining a controlled environment for 3DSL measurement is vital. This managed environment controls lighting and temperature which is fundamental for dimensional metrology. We maintain the standard reference temperature of 20° according to the International standard. This constant temperature reduces the thermal expansion of materials, ensuring the highest level of accuracy is achieved.
It is important to constantly track temperature, humidity and barometric pressure fluctuations so that we can ensure the environmental conditions within the measurement area are consistent. This is especially important for long term projects where part measurements do not all have to be completed in one batch, at one time. This helps our customers to send parts as they are ready, reducing down time and increasing flexibility.
At Physical Digital we track the performance of our sensors by performing regular acceptance tests against a calibrated artefact. By analysing key dimensions, we can perform statistical process control against our set control limits. This will identify any non-conformance, which could be related to incorrect measurement set-up or variation in environmental control. Our probing and spacing artefact is periodically calibrated to international standards enabling analysis of bias and performance of the measurement system.
An additional benefit to accurate environmental control is the ability to measure and inspect customer parts as close to the designed condition as possible. Although the accuracy of the measurement would not be affected, by not measuring parts at a consistent 20° would mean offsets or bias would need to be applied to inspect dimensions to design drawings. Although this will only have a small effect to the measurement and inspection, for tight tolerance and critical components, all uncertainties must be taken into account.
Proving accuracy and traceability delivers the results our customers need
Our Engineering Manager, Daniel Lainchbury commented: “Part of the reason for our office move to a larger facility was to ensure that we are able to continually meet the needs of our customers. As a company, our growth has meant that we are naturally taking on larger projects and it is essential for the quality and accuracy precision of the data that we deliver is maintained. Our specially designed environmentally-controlled metrology cell has been optimised for 3D optical measurement, using criteria outlined in ISO 17025. Establishing this critical level of control has enabled us to apply for high-calibre industry standards such as NADCAP (National Aerospace and Defence Contractors Accreditation Program). We are currently 2/3 of the way through accreditation to the NADCAP standards AC 7004 Quality Management, AC 7130 and AC 7130-4 for Measurement and Inspection, specific to 3D Structured Light, and when achieved Physical Digital will be the first company in the world to offer 3D structured light scanning that conforms to this standard.”


 +84982225662