The measurement process
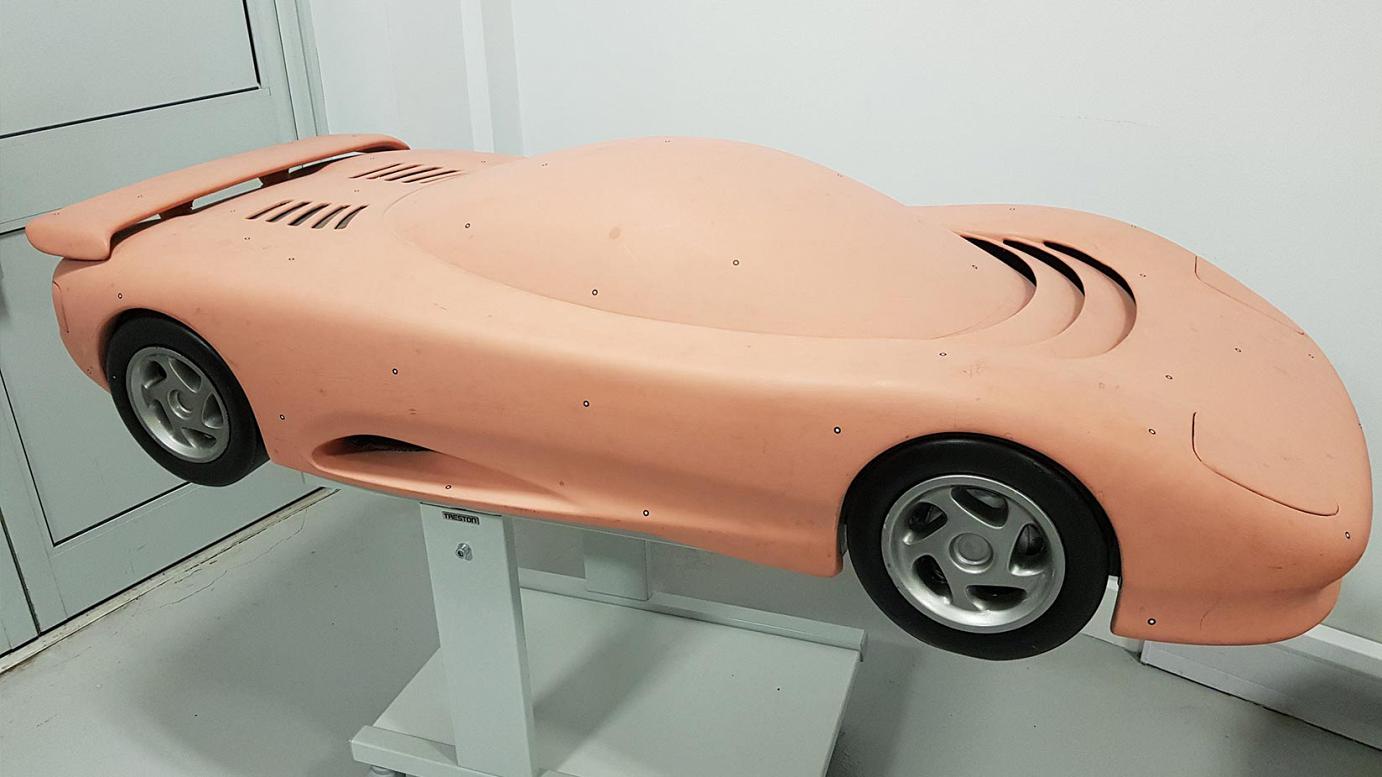
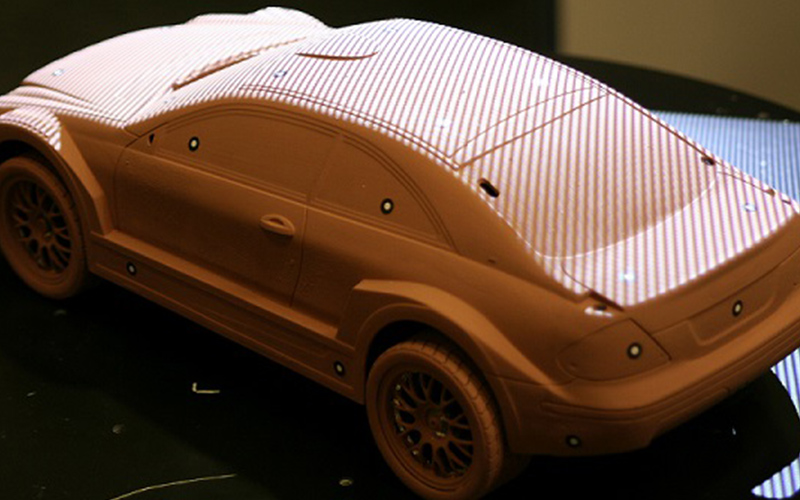
Clay model scanning our team would utilise two different measurement methods, GOM TRITOP Photogrammetry and GOM ATOS Scanning sensors. The benefit of using these as a combined method of data capture is that the scanning area can be vastly increased, without resulting in large deviation errors. GOM TRITOP photogrammetry and ATOS scanning
systems used by our team make the 3D scanning of design studio models a quick and accurate process. GOM measurement systems are ideal for this purpose, resulting in large amounts of high-resolution data.
To begin, a series of coded and uncoded markers are placed on and/or around the clay model. The TRITOP photogrammetry measurement system is developed to identify the coded markers and associate the optical barcode with a unique number. Each image can be orientated within the project providing five or more of the coded markers are visible. Once all the images are orientated together the software will identify the un-coded markers by identifying the change in contrast from the black to white areas. The scale bars are identified using specific coded markers and are inspected against a nominal value. The optical scanning system uses the reference points to align each scan globally, monitor calibration, movement and lighting conditions. The GOM ATOS optical 3D structured light scanning systems use reference points to locate the position of the sensor in relation to the part, capturing a vast quantity of precise and accurate data. Using the GOM Inspect software to complete the scanning, alignment and inspection process means that traceability is maintained throughout the project. These systems combined can be used to scan exterior, interior and scale design models.
Reverse Engineering
The two options for surfacing are NURBS surface or parametric high class or “A” class. The NURBS (Non Uniform Rational Basis Spline) is a quick method of transforming scan data to CAD surfaces. For this process Physical Digital uses the Geomagic/3D systems software suite to generate highly accurate CAD models. High class or “A” class surfacing uses parametric patches to generate high quality surfaces. This method generates smooth, design intent models which eliminate some of the surface imperfections of the clay.
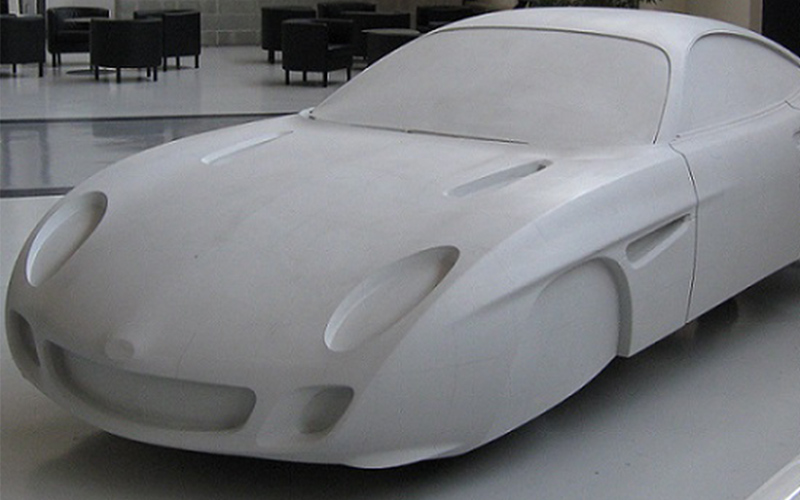
Clay surfaces make it easier for optical scanners to capture large amounts of high resolution scan data. High class surfacing helps generate smooth, design intent models which eliminate some of the design imperfections of the clay. This is an exciting and rewarding field to work in, giving us a fantastic insight into the creativity and flair that automotive designers possess.
Metrologist Ben Singer: “Being invited to complete 3D measurement of new car designs at this stage is very exciting. To be a small part of the design process and to be able to create a highly accurate digital representation of the clay model, which will then go on for further design refinement and goes on to full production is very rewarding.”


 +84982225662